Saltys Realistic Forging Mod

Salty’s Realistic Forging Mod (1.20.4, 1.20.1) aims to make smelting ores a bit more immersive (GUI free) and engaging. It adds new mechanics to smelting iron, gold, copper and netherite. Steps for carving diamond and emerald too.

img-responsive

Features:

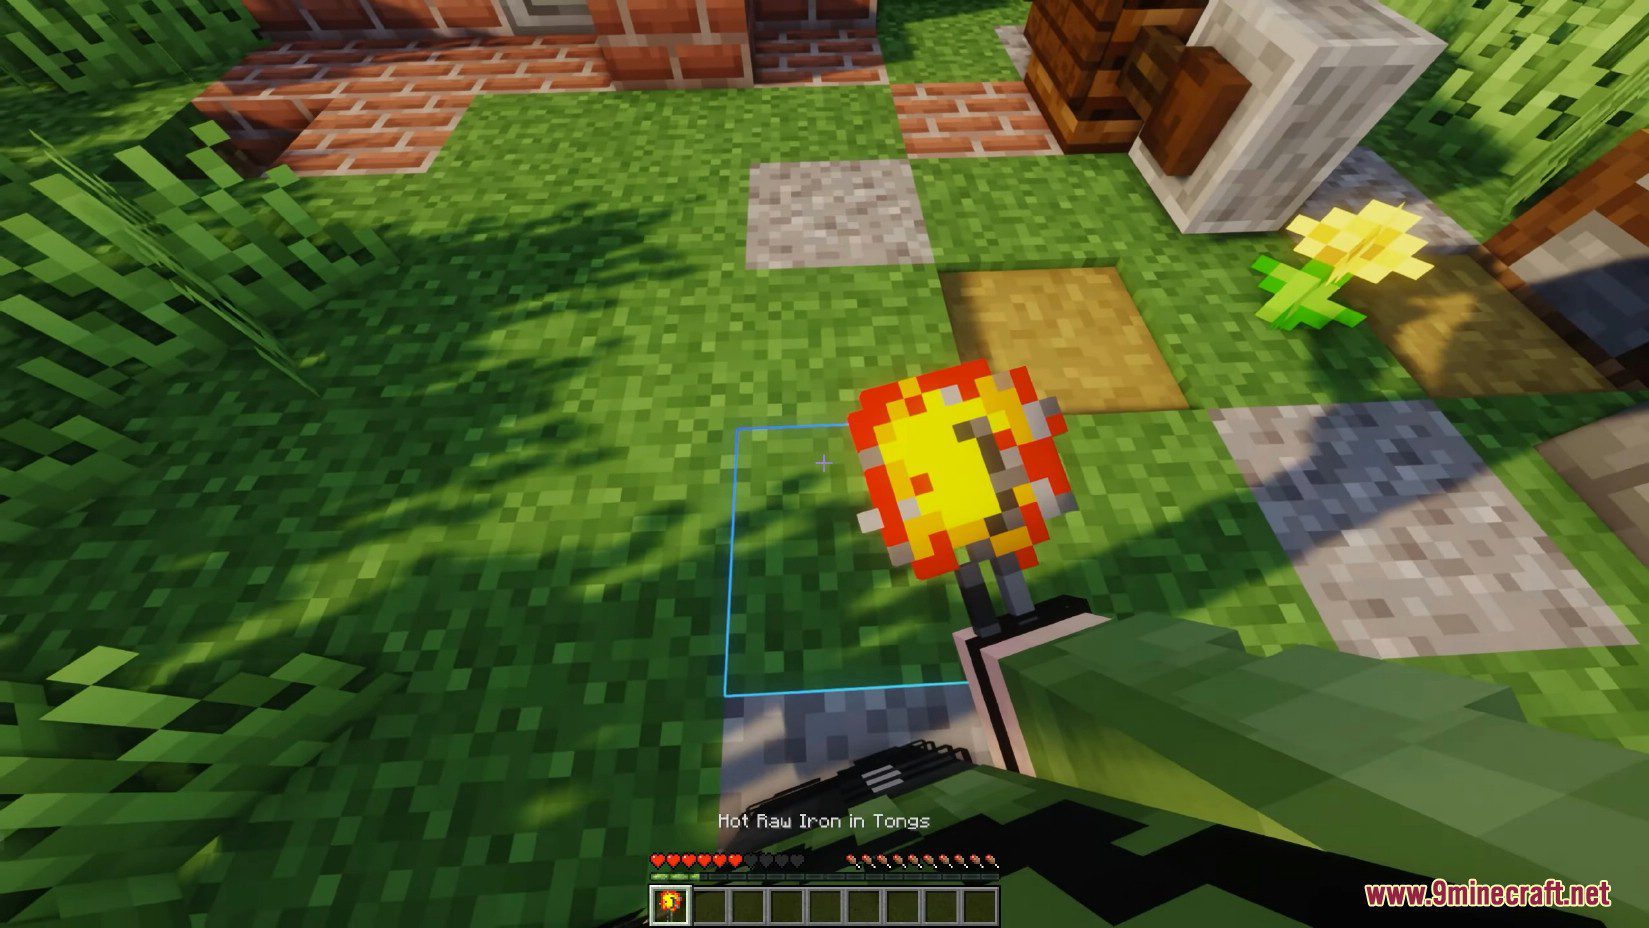
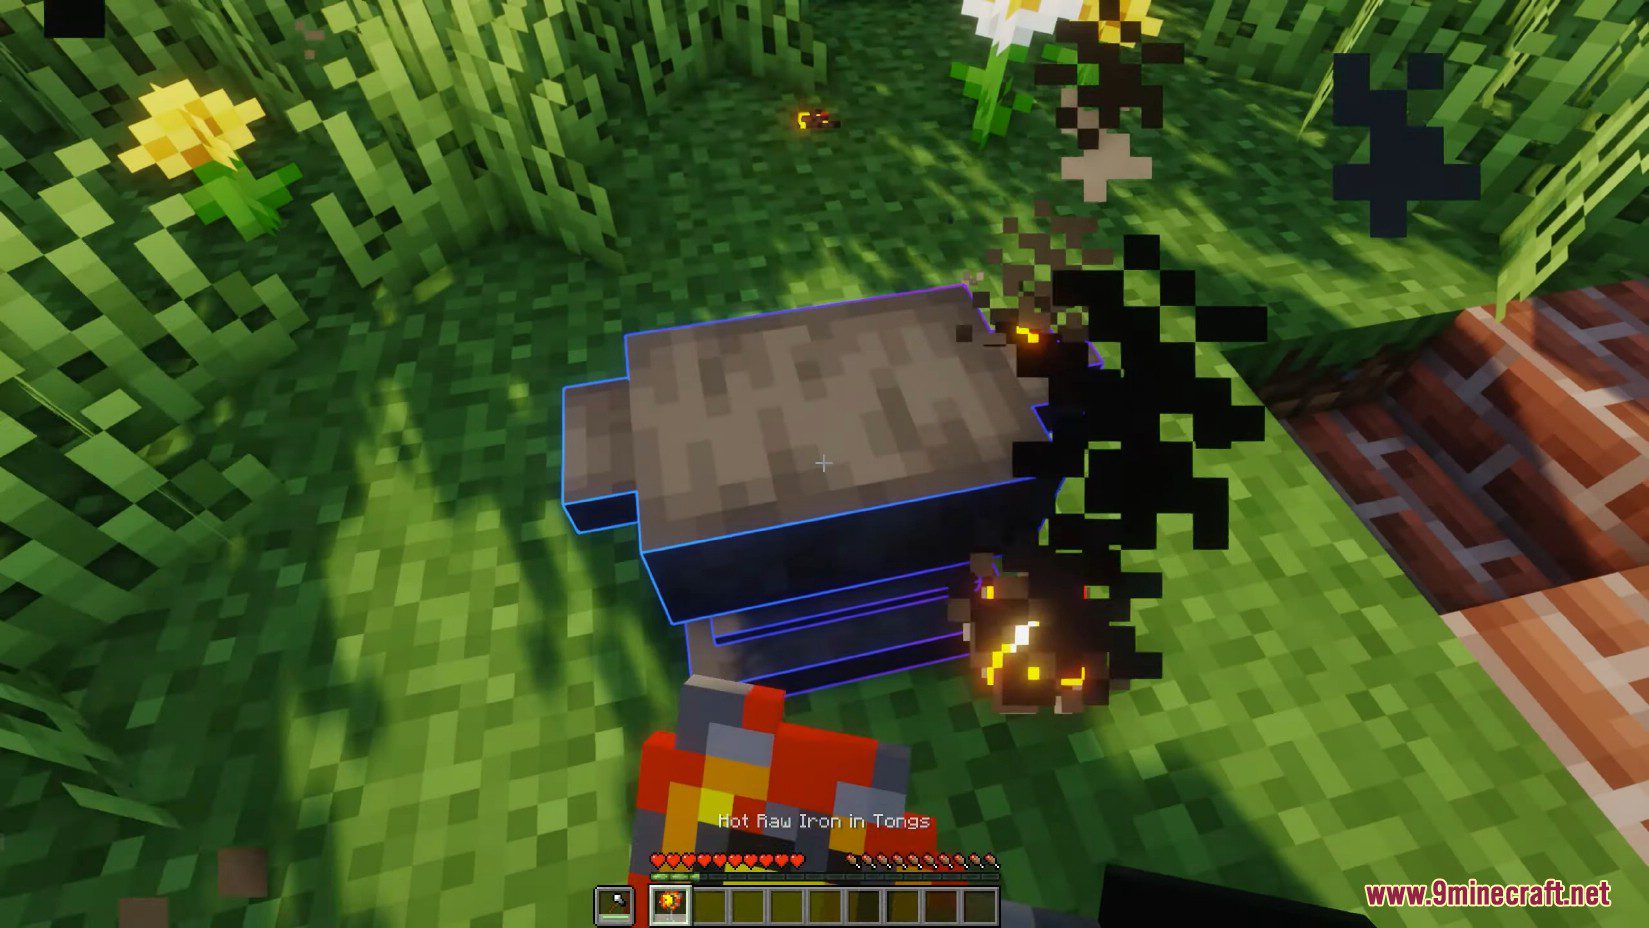
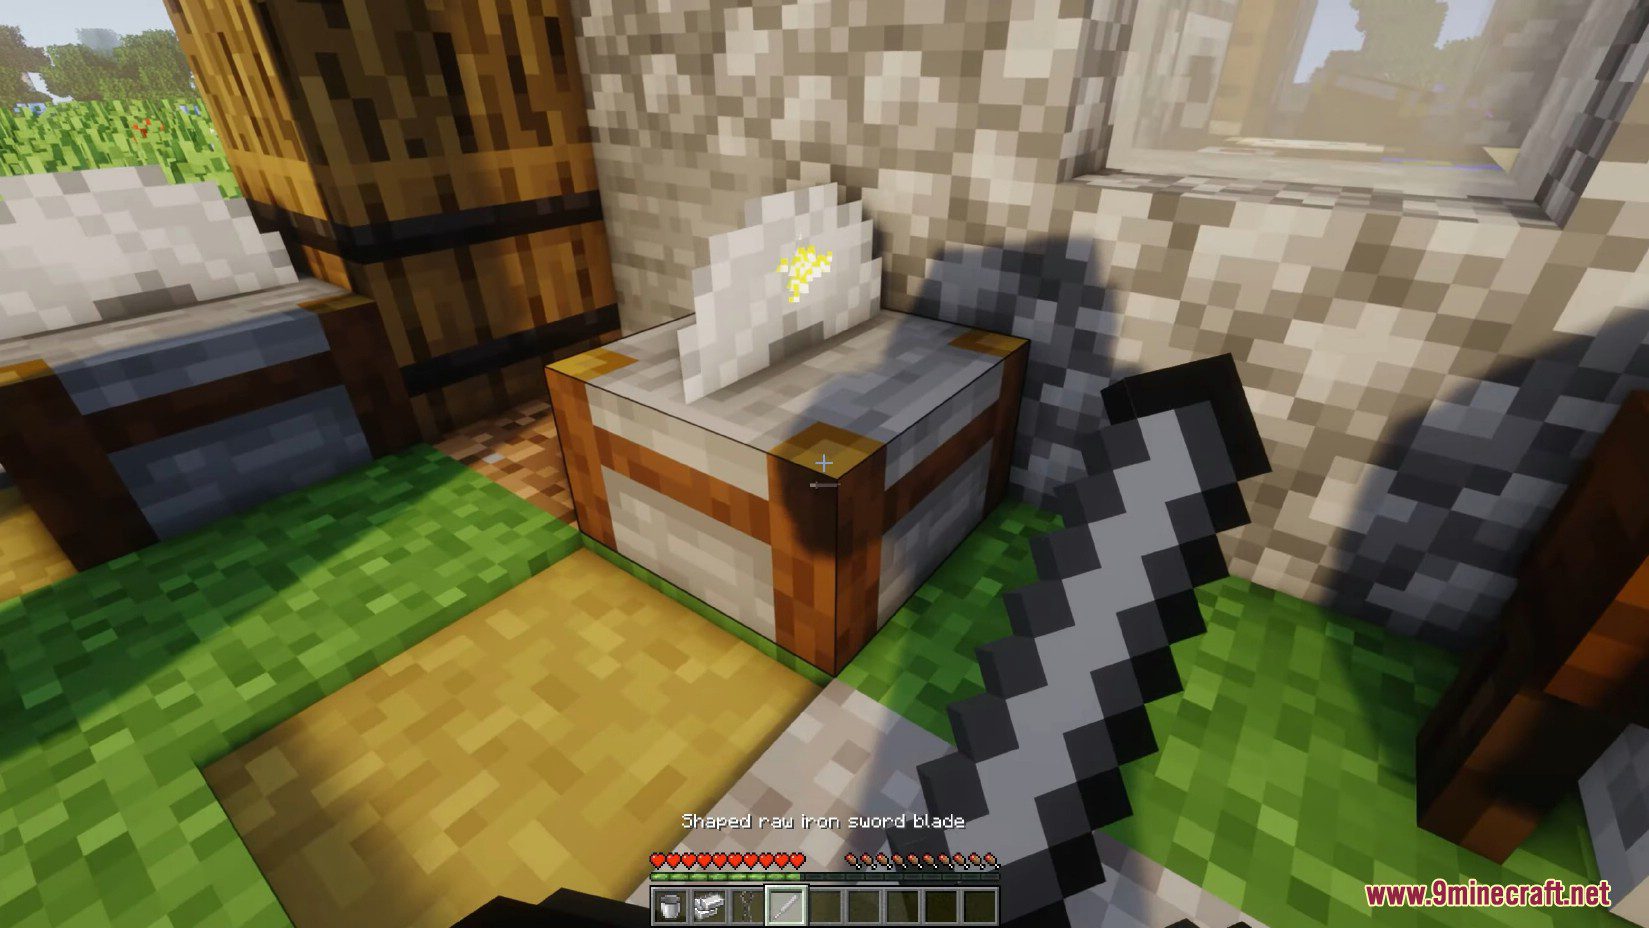
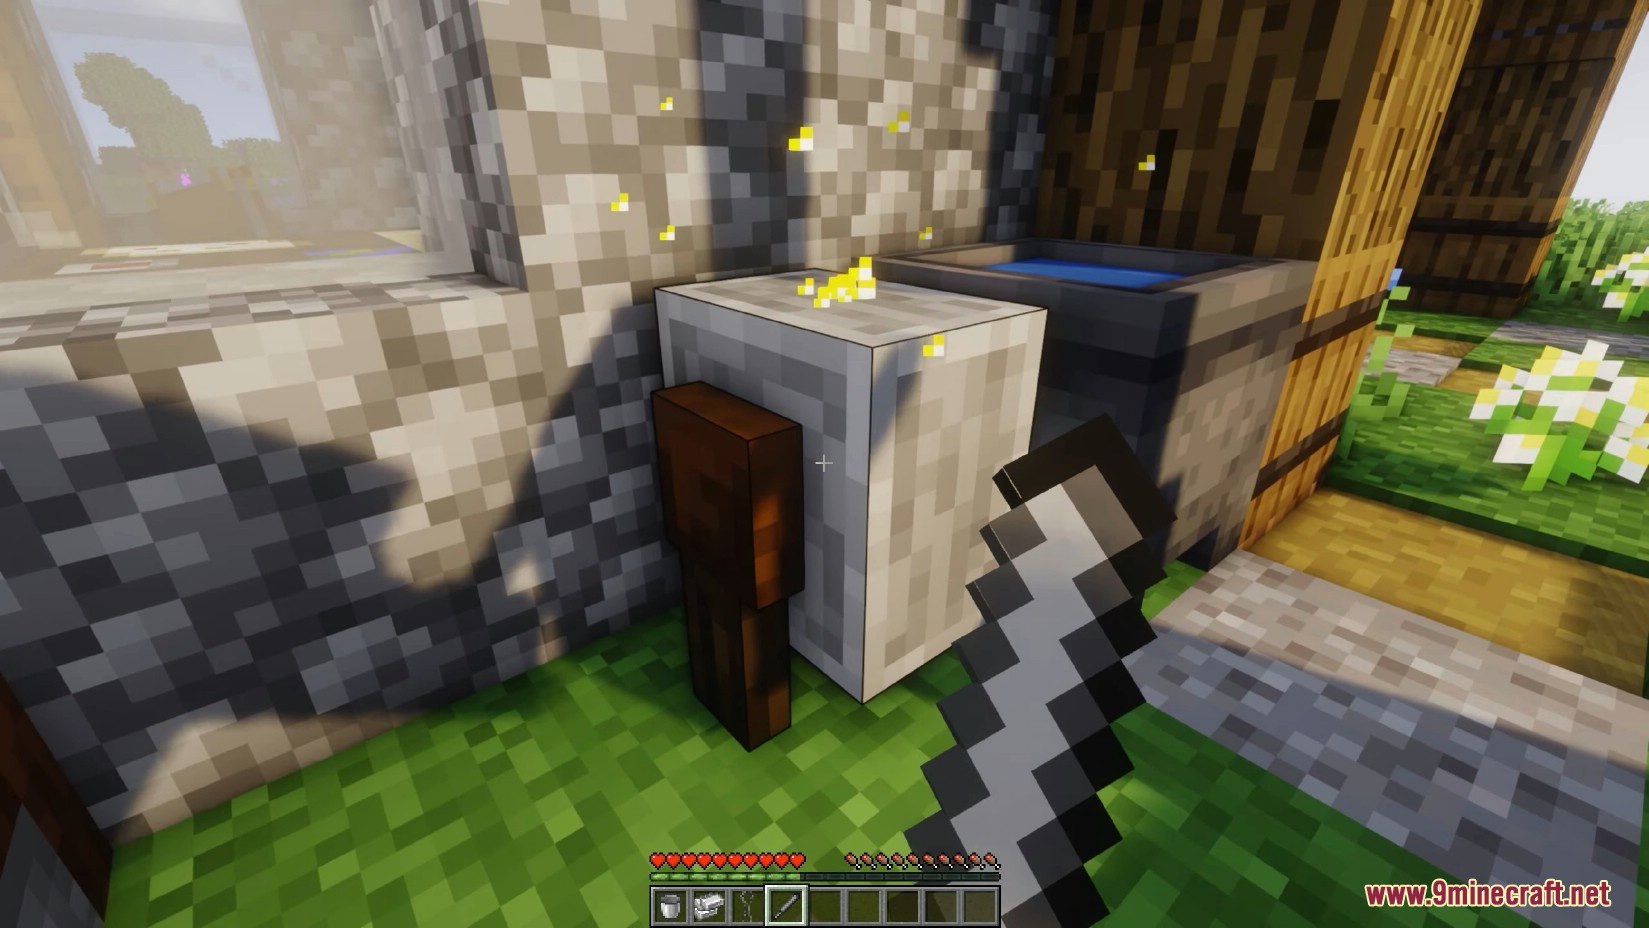
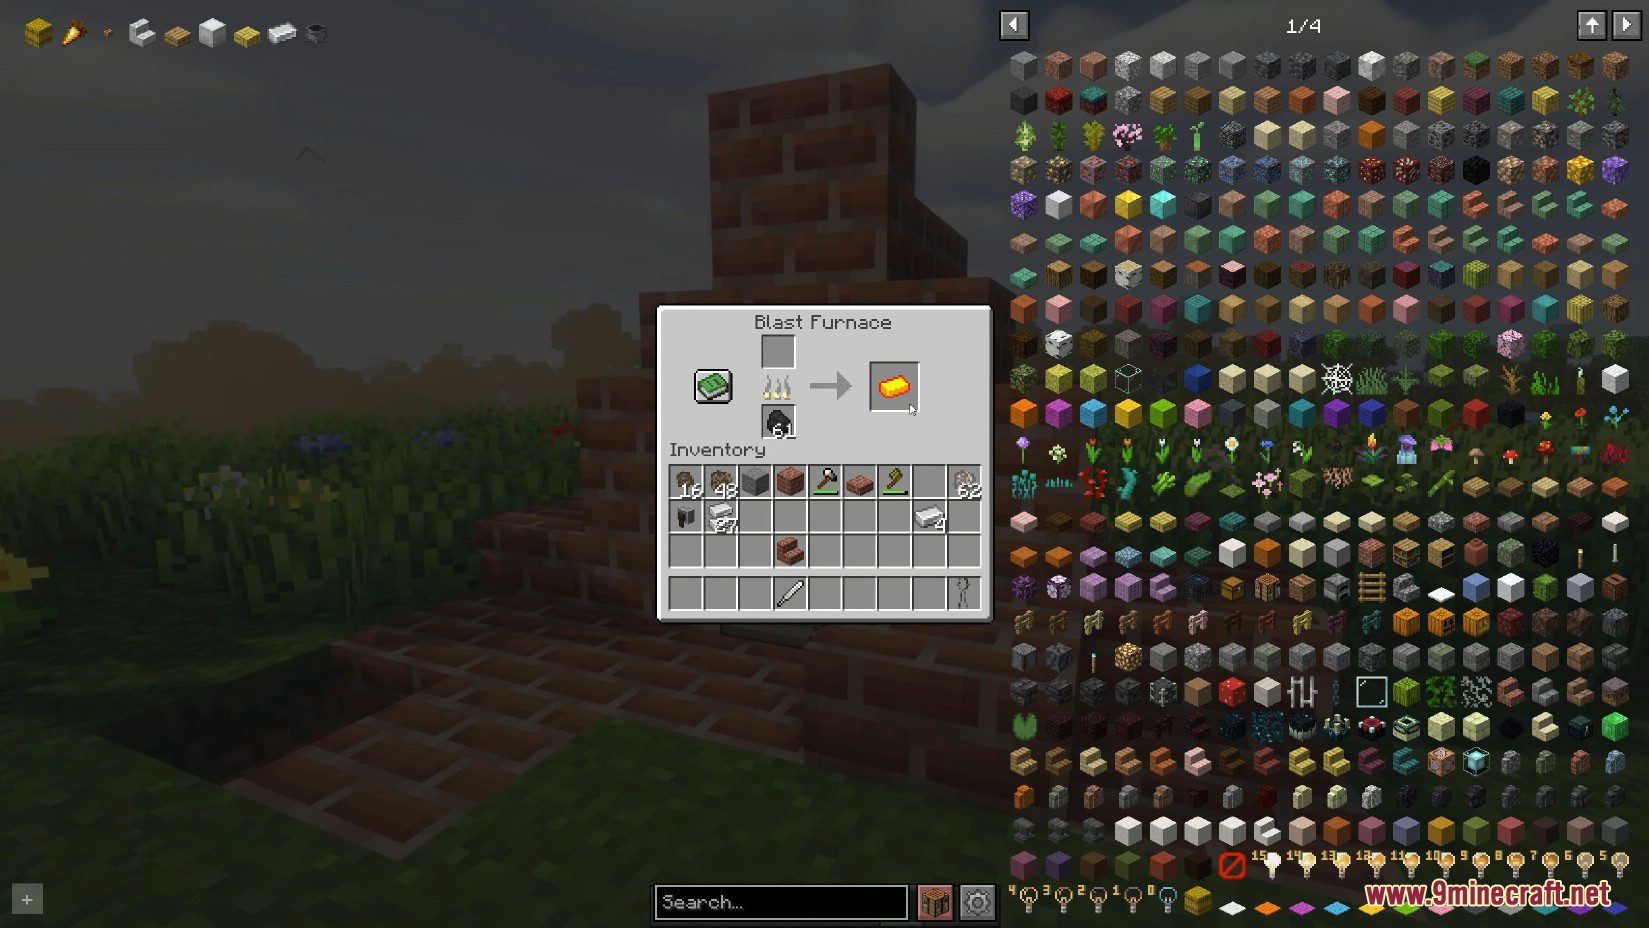
  • Includes a unique step by step process to forging iron, gold, copper, netherite and diamond & emerald lapidary. From raw ore to ingot/gem.
  • Increases early-game complexity. Find ways to forge iron with what you can get in the wilderness and from that make tools to forge other materials and work consistently.
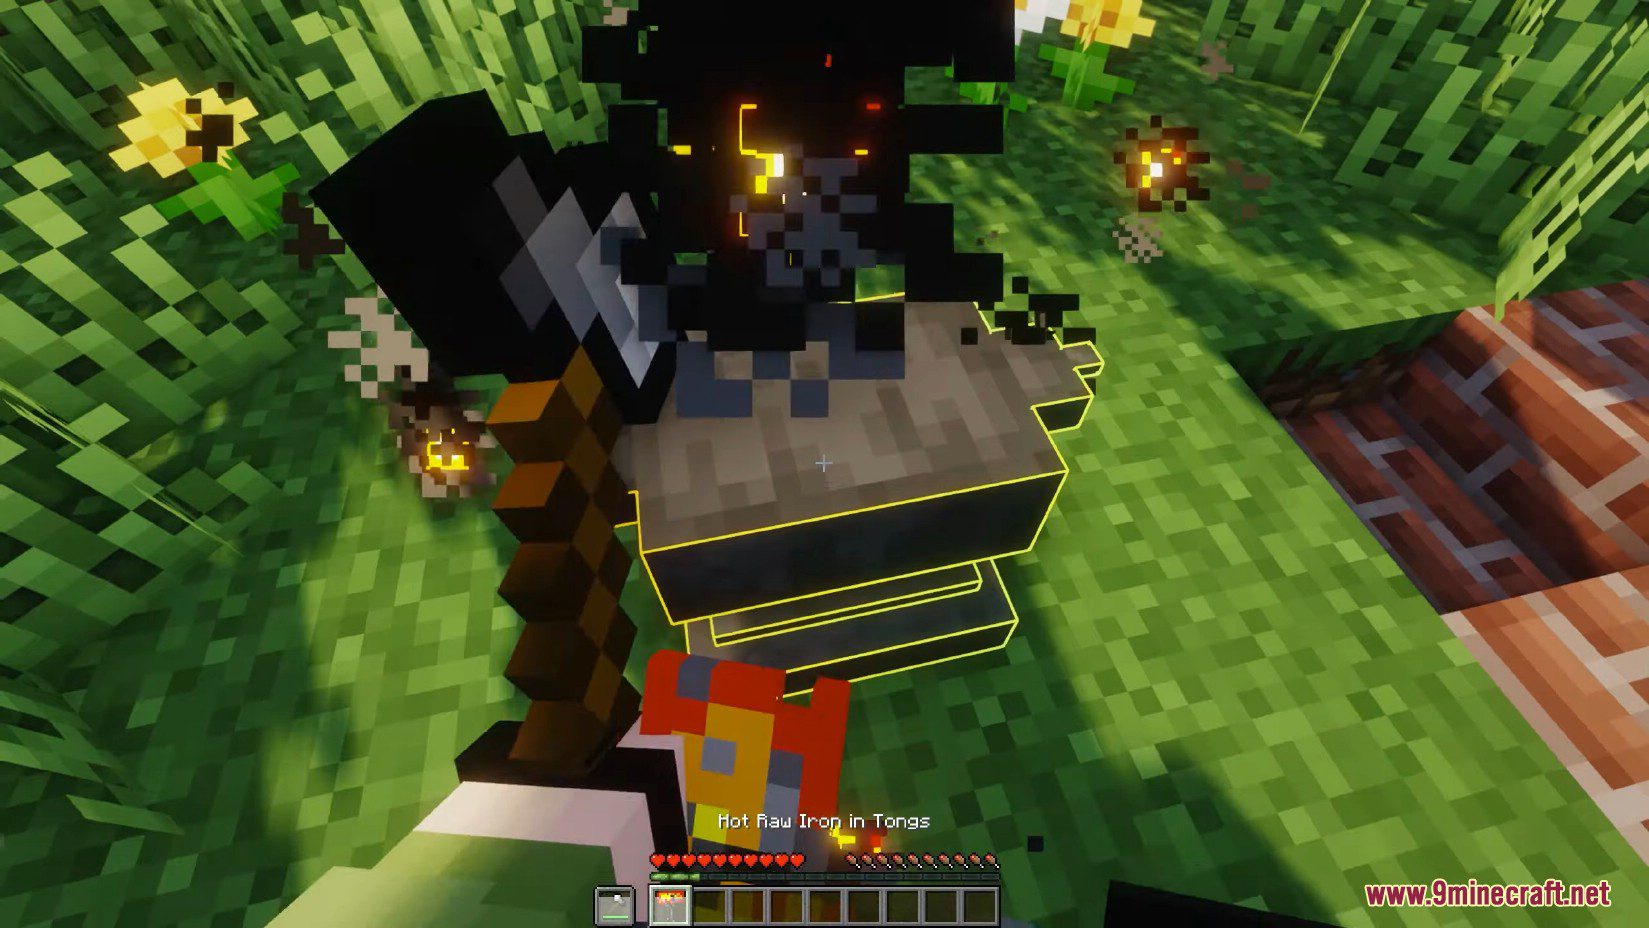
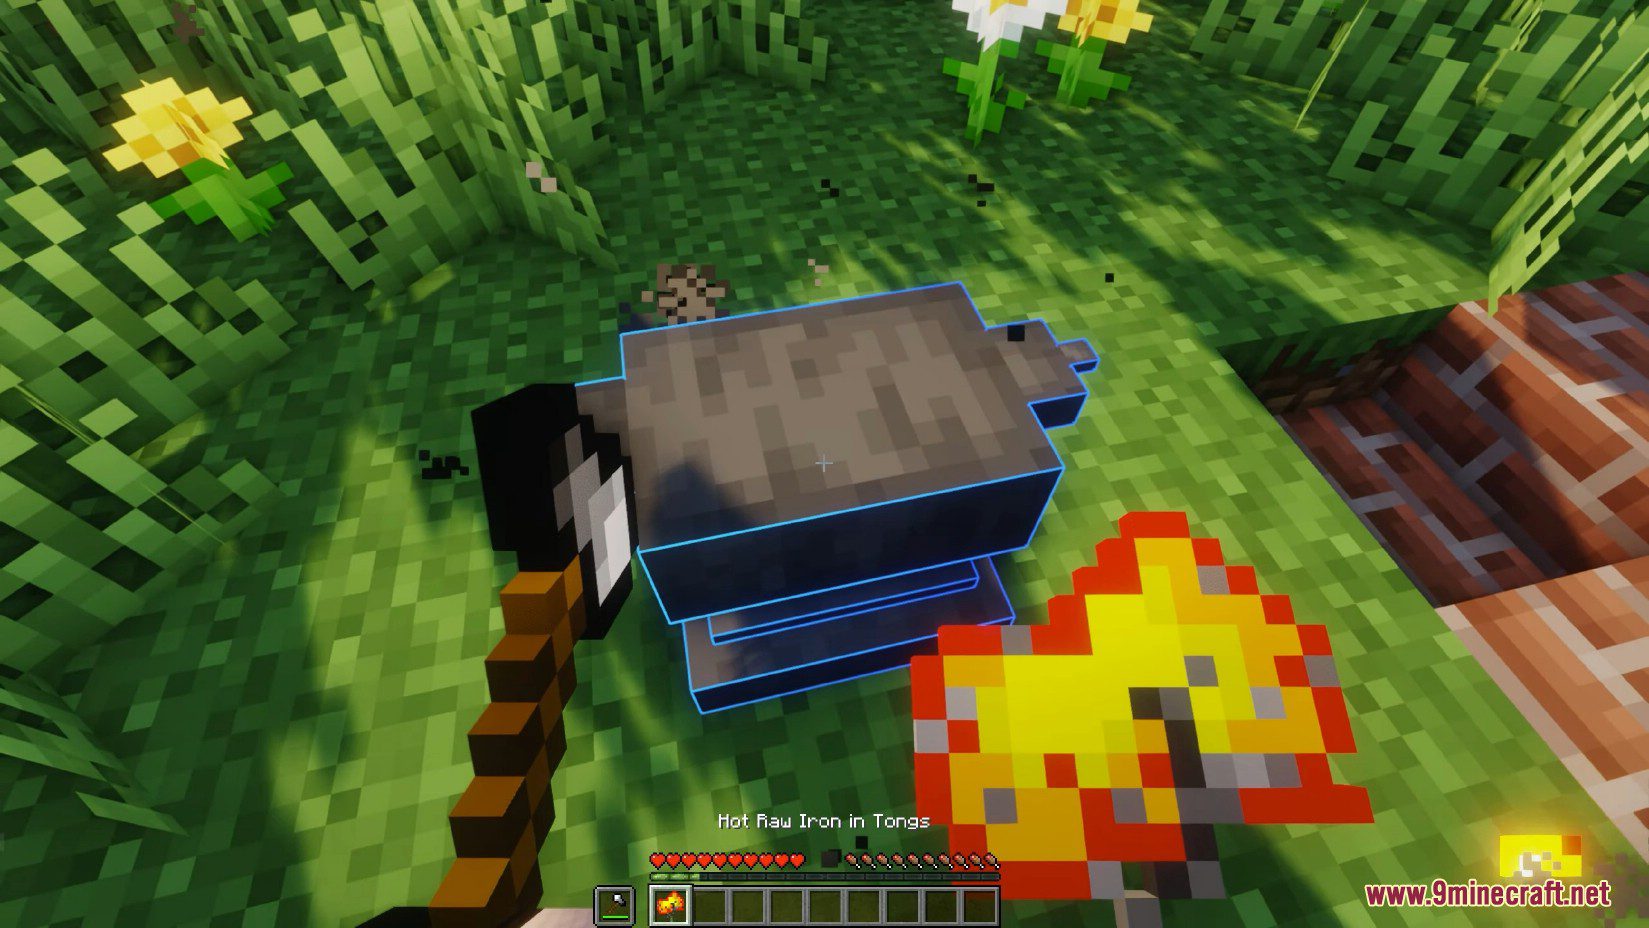
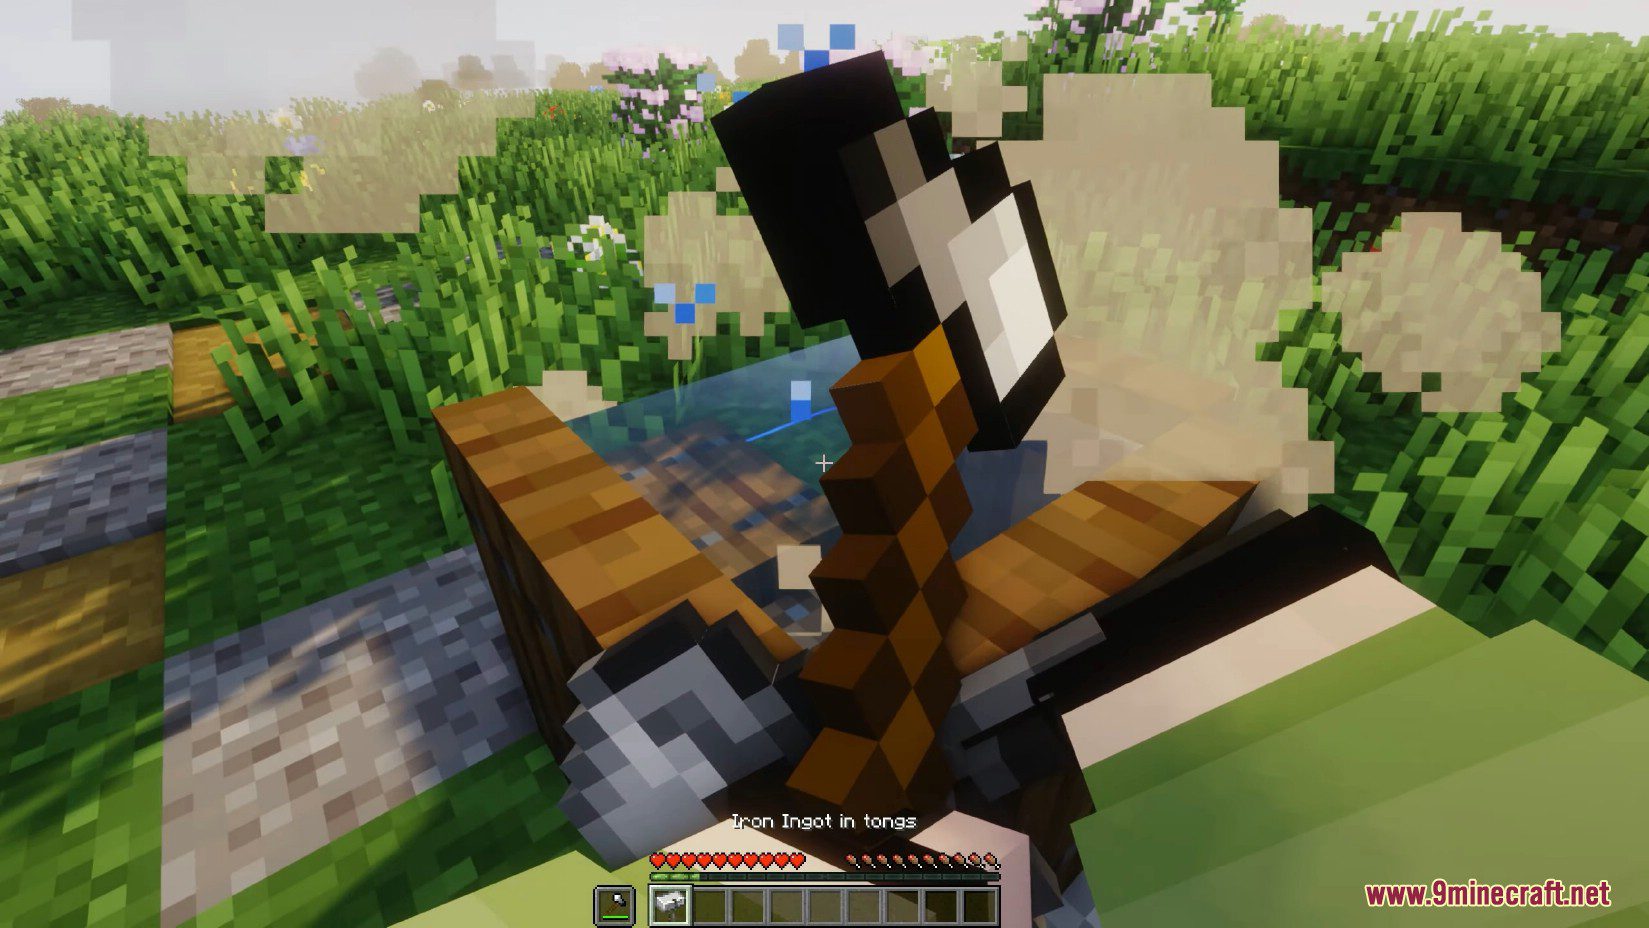
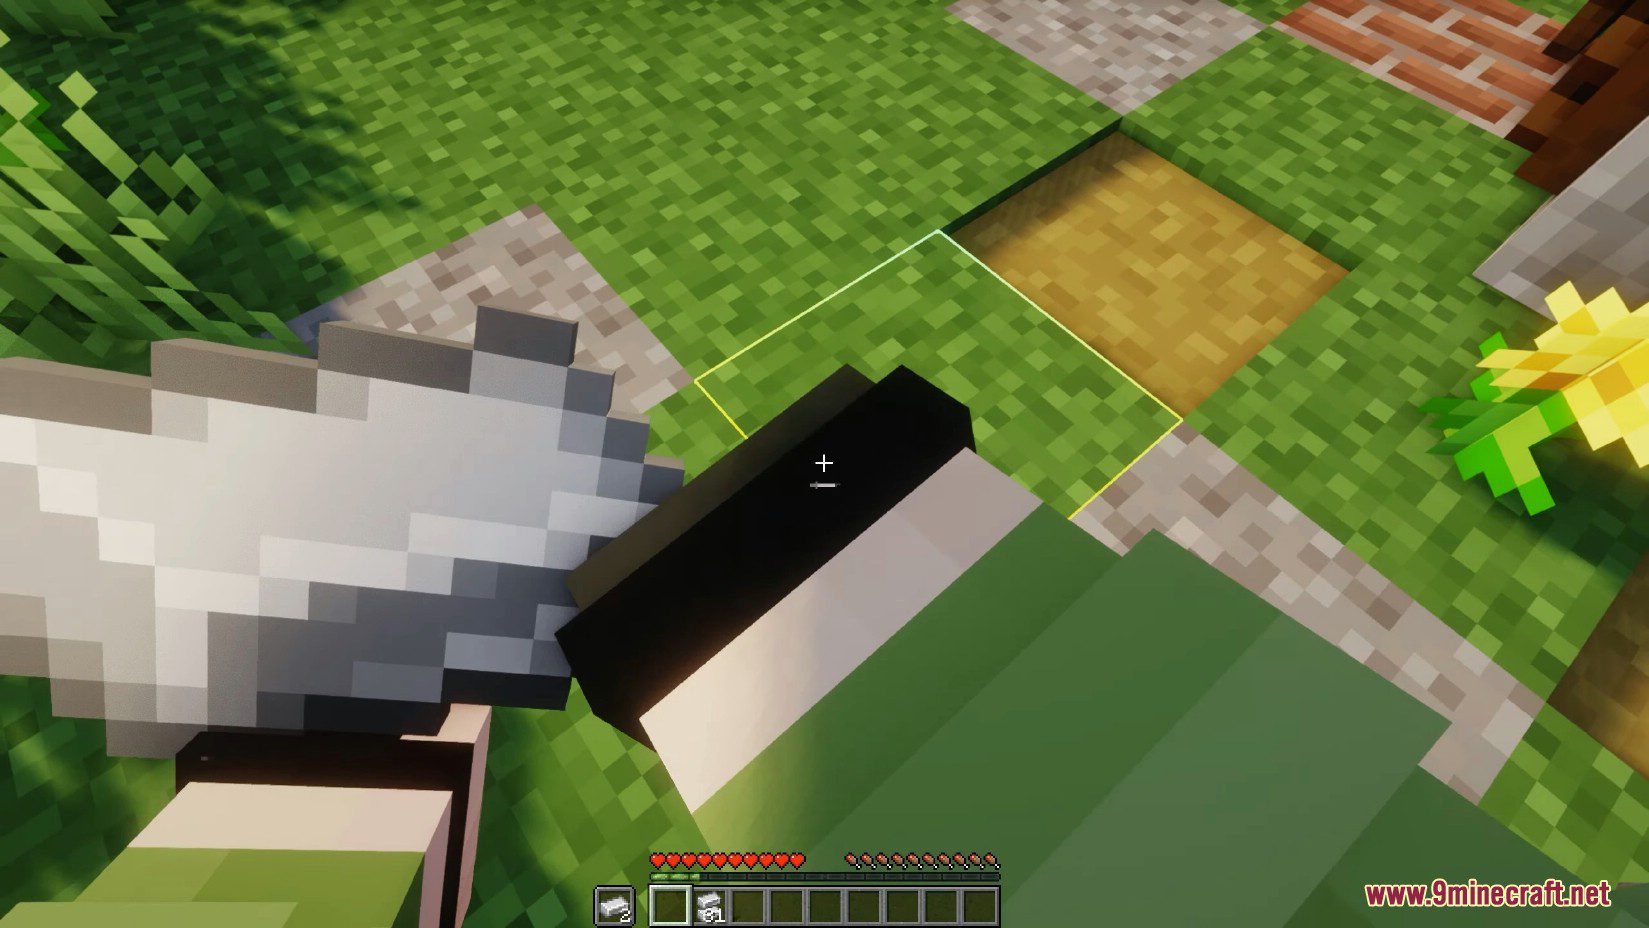
  • Focused on immersion, Everything can be done with a combination of holding certain items in the main hand, off hand, and right clicks. No GUI’s.
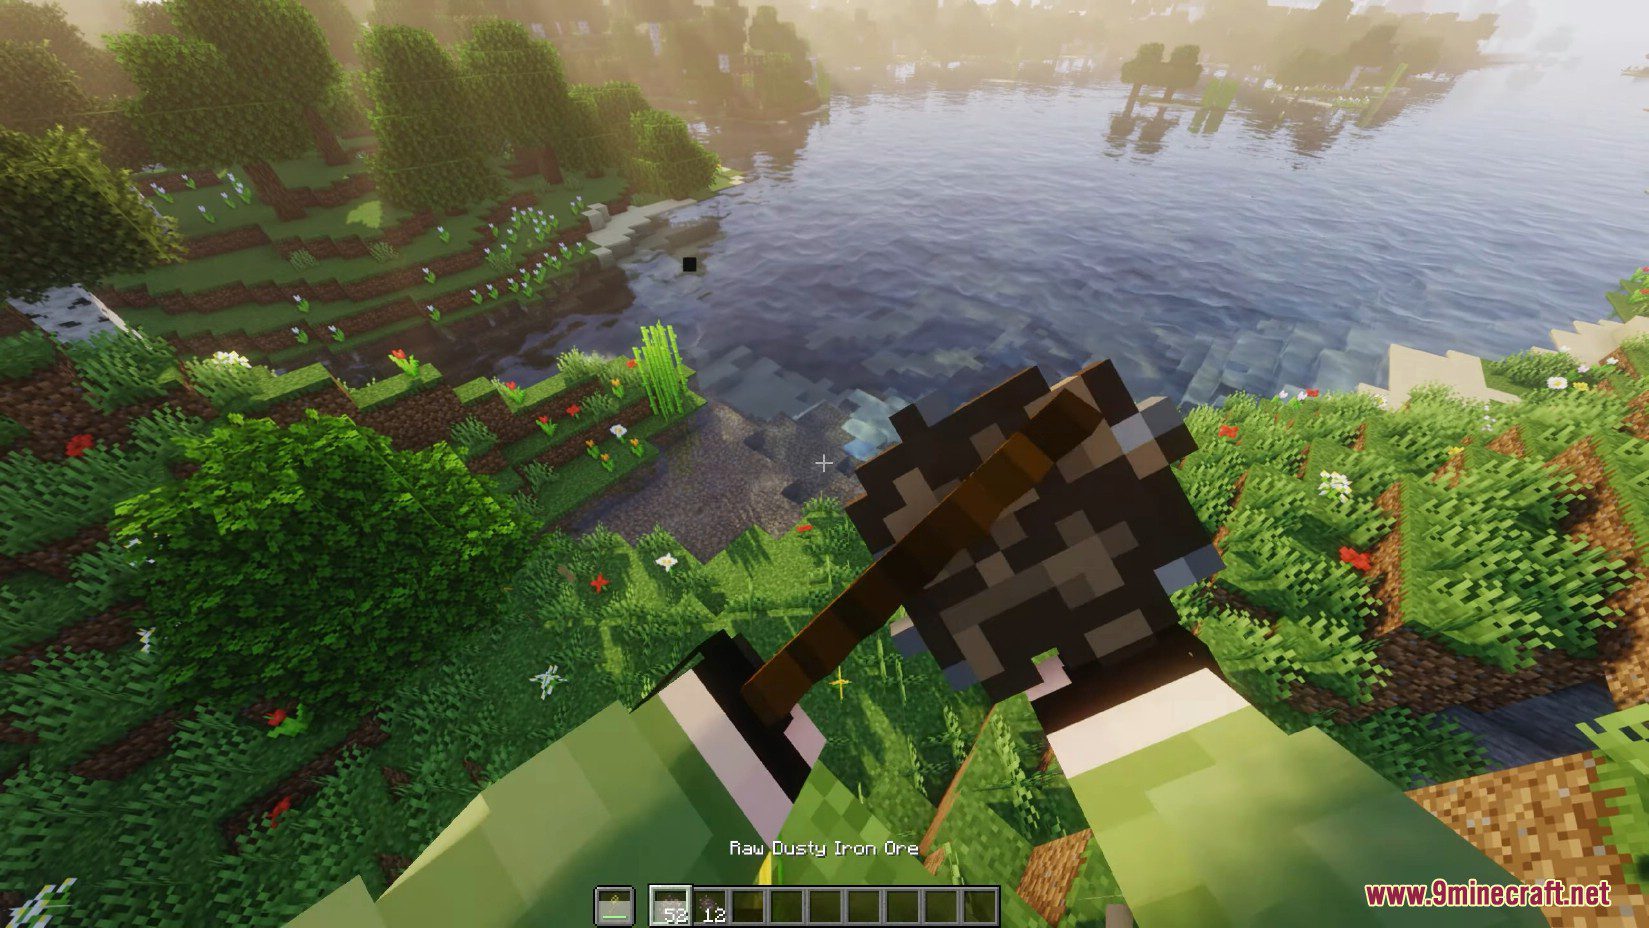
  • Ore veins now drop up to 5 raw ores.
  • A rough gem can be processed to two gems. Ex: One rough diamond gives 2 diamonds after the lapidary.
  • Focused on progression. Start slowly forging minerals in rocks with sticks and progress to more advanced and efficient tools.
  • Compatibility: Realistic forging aims to enhance the process to obtain vanilla resources, any mod that uses vanilla resources for it’s craftings is compatible with this mod.
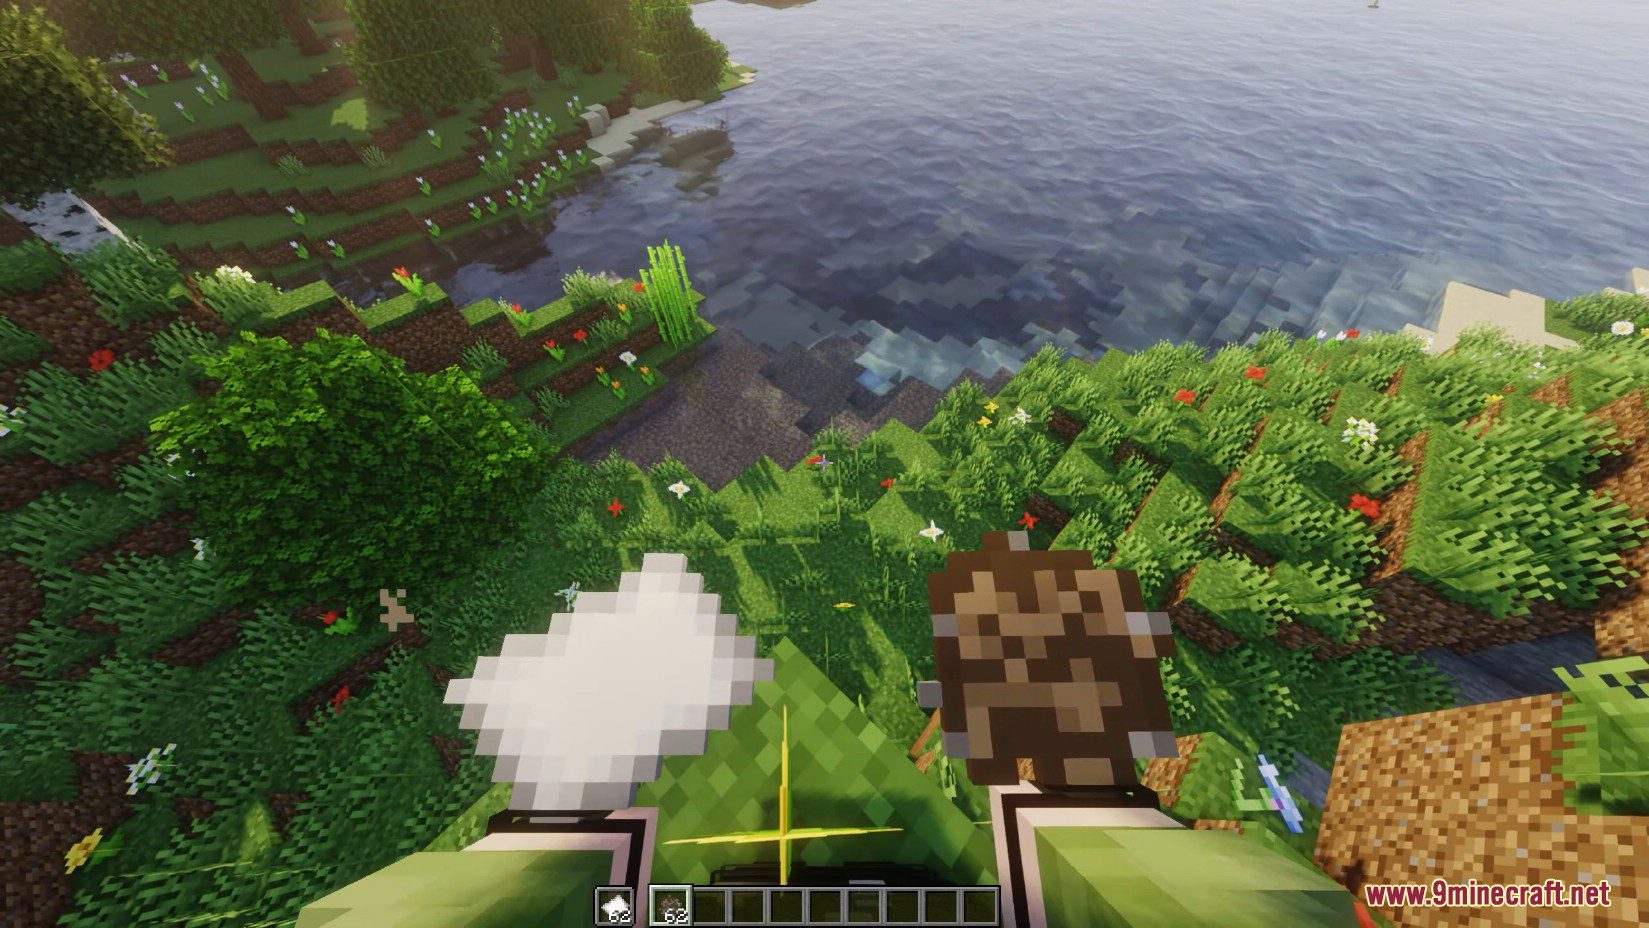
Screenshots:

img-responsive

img-responsive

img-responsive

img-responsive

img-responsive

img-responsive

img-responsive

img-responsive

img-responsive

img-responsive

img-responsive

img-responsive

How to use:

Steps to forging iron:

Show Spoiler

The first step is separating all that dust and dirt from the raw ore you’ve just mined from the vein.

For cleaning the raw ore there’s 3 options

Bare hands: Just right click with the raw iron ore in your main hand.

The first step is separating all that dust and dirt from the raw ore you’ve just mined from the vein.

For cleaning the raw ore there’s 3 options

Bare hands: Just right click with the raw iron ore in your main hand.

Paper: Hold paper in off hand and the ore in your main hand and right click. (It will clean it faster, but the paper will be consumed)

Brush: Hold the brush in the off hand and the ore in your main hand and right click. (It cleans even faster and collects iron ore dust that can later be washed in water and smelted into iron nuggets.)

Now you have a brand new cleaned raw iron ore ready to be smelted.

The raw iron ore can be smelted both in the furnace and the blast furnace.

It will take longer to smelt it in the furnace as it doesn’t generate as much heat as the blast furnace

Now that you have smelted all the iron ores you probably noticed that you get hot balls of iron ore. DO NOT PICK IT UP BARE HANDED OR YOU WILL GET BURNED.

This is the next step, use the Blacksmith Tongs in your main hand and then you can safely put the hot iron in your inventory and it will automatically be held by the tongs, one at time, do not pick up the whole pack or you’ll get burned, as the tongs can only carry one hot iron at time. To prevent that the mod doesn’t let you stack the raw hot iron. You’ll need to smelt it one at time.

If you don’t have blacksmith tongs yet, you can craft and use two sticks. But sticks are not as efficient as Blacksmith Tongs as they will burn after the first usage.

There’s two things you’ll need for the next step but first make sure you’re near a water source.

To begin you’ll need a Smiting Anvil

It will sustain the hot iron you’ll be handling. if you don´t have one yet you will need to find another smooth like surface to hit the iron on. Big stones can be used they’ll generate in the surface, but it will take longer to shape the iron into a iron ingot.

And a smiting hammer. There’s tree tiers. wood, stone and iron. Each one with it’s own efficiency and durability.

Hold the smiting hammer in your off hand and the hot iron in your main hand, aim to the smiting anvil (or stone block) and right click on it. The player will hit the hot iron with the hammer starting the shaping process.

Hit the hot iron several times until it starts to take the ingot shape. The shaping process is ready when you can no longer hit it with the hammer.

The last step is cooling the thing down, right click it on any water source, and it will turn the hot iron into a Iron ingot.

Now just right click it to pluck the ingot from the tongs.

The process is completed and you now have a well deserved Iron Ingot. Congratulations!

Steps to forging gold:

Show Spoiler

First step to the process of melting gold is cleaning the pure raw ore from all the rock sediment involving it.

For that a good washing will do the trick.

Washing it in the river will take longer tho.

The next step is preparing the mold for the ingot

And then just put the raw pure gold ore inside the mold

Now it´s time to melt the gold.

The necessary heat for melting gold can only be achieved by the blast furnace, you can’t melt gold with a normal furnace.

When the gold melts it needs to be picked up: (don’t forget to use the tongs)

and cooled down, so you will need a source of water nearby

When using a cauldron there’s a small chance that the mold can get damaged in the cooling down process. Damaged molds will break when you remove the gold from it, so you’ll need to craft another for the next gold bar. The chance for damaging the mold increases greatly if you cool it down in a river.

Then, just pluck the mold from the tongs and remove the gold bar from the mold.

There you go. A shiny new gold bar. Congratulations!

Steps to forging copper:

Show Spoiler

Like Gold, Copper need to be smelted. But you’ll first need to crush the copper ore into fine sand to loosen the minerals.

For that you’ll need a iron pan and a wood pestle

Put the ore in the pan

Now crush the ore to dust

Now the copper is ready to be smelted, again, like gold, only the blast furnace is capable of achieving the necessary heat to smelt the ore.

Put the pan with the copper dust inside the Blast furnace and when it’s ready use the blacksmith tongs to pick it up

Now you’ll need to pour the hot copper inside the ingot mold

It has now taken the ingot shape, and you’ll need to cool it down, don’t worry about the mold, it wasn’t heated enough to get cracked.

Now just pick the copper ingot from the mold

Now you have a nice copper ingot in hands and those lightning-rods will feel a lot more rewarding. Congratulations.

Steps to forging Netherite ingot:

Show Spoiler

Ancient Debris are a piece of a very hard thing that once existed.

For harvesting that, we’ll need more than just a simple pickaxe

The Diamond Sledge hammer is the right tool for the job. And can be used as a weapon too. Deals a great amount of damage but it is very, very slow.

After harvesting the debris, just smelt like the normal vanilla minecraft.

And after acquiring the scraps you will need to put them inside a big pan

You need to have 4 scraps in the main hand.

With a lava bucket, pour the lava in the pan with the scraps, and wait for it to melt

Add 4 gold ingots to the mixture

Pour everything into a mold

Cool down the mixture

And pick the netherite ingot from the mold

Congratulations.

Steps to Diamond Lapidary:

Show Spoiler

Diamond is a gemstone. So using a big and clunky pickaxe won’t do more than removing the whole vein from the wall.

But that is good, and probably necessary as you will be wanting to take those precious minerals to safety before working on them

Now that you’ve collected all the diamonds it’s time to take them to the surface and start the lapidary.

First you will need a carving hammer and a point chisel.

With those two tools you can carve and remove the stone tha’ts around the mineral

As you’ve noticed you obtained a Rough Diamond. It´s pretty but not ready yet to be used.

For the next step you’ll need to cut the rough diamond in pieces. Use a stone cutter (hold shift)

After cutting the pieces the next step is the most important, to shape and polish the diamond so it will be ready for use.

Using a grindstone with the cut rough diamond will round it, shaping and polishing the gem to it’s finest form (hold shift)

You’ve just made like 15k bucks. Congratulations.

Requires:

Minecraft Forge

Player Animator Mod

How to install:

How To Download & Install Mods with Minecraft Forge

How To Download & Install Fabric Mods

Don’t miss out today’s latest Minecraft Mods

Salty’s Realistic Forging Mod (1.20.4, 1.20.1) Download Links

For Minecraft 1.20.1, 1.20

Forge version: Download from Server 1Download from Server 2

For Minecraft 1.20.4

Forge version: Download from Server 1Download from Server 2

Mods

1.19.4 Mods

1.19.3 Mods

1.19.2 Mods

1.18.2 Mods

1.16.5 Mods

1.15.2 Mods

1.12.2 Mods

1.8.9 Mods

1.7.10 Mods

1.18.1 Mods

1.17.1 Mods

1.14.4 Mods

1.13.2 Mods

1.11.2 Mods

1.10.2 Mods

1.9.4 Mods

Minecraft Modpacks

1.19.4 Modpacks

1.19.3 Modpacks

1.19.2 Modpacks

1.18.2 Modpacks

1.16.5 Modpacks

1.12.2 Modpacks

1.7.10 Modpacks

Forge Mods

Fabric Mods

Quilt Mods

Resource Packs

1.19.4 Resource Packs

1.19.3 Resource Packs

1.19.2 Resource Packs

1.18.2 Resource Packs

1.16.5 Resource Packs

1.15.2 Resource Packs

1.12.2 Resource Packs

1.8.9 Resource Packs

1.7.10 Resource Packs

1.18.1 Resource Packs

1.17.1 Resource Packs

1.14.4 Resource Packs

1.13.2 Resource Packs

1.11.2 Resource Packs

1.10.2 Resource Packs

1.9.4 Resource Packs

Shaders

1.19.4 Shaders

1.19.3 Shaders

1.19.2 Shaders

1.18.2 Shaders

1.17.1 Shaders

1.16.5 Shaders

Maps

1.19.4 Maps

1.19.3 Maps

1.19.2 Maps

1.18.2 Maps

1.16.5 Maps

1.15.2 Maps

1.12.2 Maps

1.8.9 Maps

1.7.10 Maps

1.18.1 Maps

1.17.1 Maps

1.14.4 Maps

1.13.2 Maps

1.11.2 Maps

1.10.2 Maps

1.9.4 Maps

Data Packs

1.19.4 Data Packs

1.19.3 Data Packs

1.19.2 Data Packs

1.18.2 Data Packs

1.16.5 Data Packs

1.15.2 Data Packs

1.18.1 Data Packs

1.17.1 Data Packs

1.14.4 Data Packs

1.13.2 Data Packs

MCPE/Bedrock

Mods & Addons

MCPE 1.19 Add-ons

MCPE 1.19 Mods

Texture Packs

MCPE 1.19 Texture Packs

MCPE 1.19 Resource Packs

Maps

MCPE 1.19 Maps

Clients

MCPE 1.19 Clients

Mod Menu Clients

Shaders

MCPE 1.19 Shaders

Render Dragon Shaders

Launchers

Skin Packs

Clients

1.19.4 Clients

1.19.3 Clients

1.19.2 Clients

1.18.2 Clients

1.16.5 Clients

1.12.2 Clients

1.8.9 Clients

Launchers

1.19.4 Launchers

1.19.3 Launchers

1.19.2 Launchers

1.18.2 Launchers

1.16.5 Launchers

1.12.2 Launchers

1.7.10 Launchers

Seeds

1.19.4 Seeds

1.19.3 Seeds

1.19.2 Seeds

1.18.2 Seeds

Skins

Plugins

Bukkit Plugins

Spigot Plugins

Paper Plugins

Tutorials

Installation Guide

Mobs Wiki Guide

Seeds Wiki Guide

Biomes Wiki Guide

Status Effects Wiki Guide

Enchantments Wiki Guide

Materials Wiki Guide

Command Blocks

Versions

Backlinks